Pop Highlights in Photoshop, Vol. 2

Emphasizing highlights brings so much dimension to an image, and this is probably the method I use most often. This is a great technique for building dimension whether it's a beauty shot, portrait, or wanting to create some dreamy faerie light. As with most of my color/tone editing, I prefer to start with a retouched image. I just slightly flattened the midtones in Adobe Camera Raw prior to opening in Photoshop so the highlights they will stand out more vividly, but it's not a necessary step. Here's our starting image, with just the skin cleaned up.
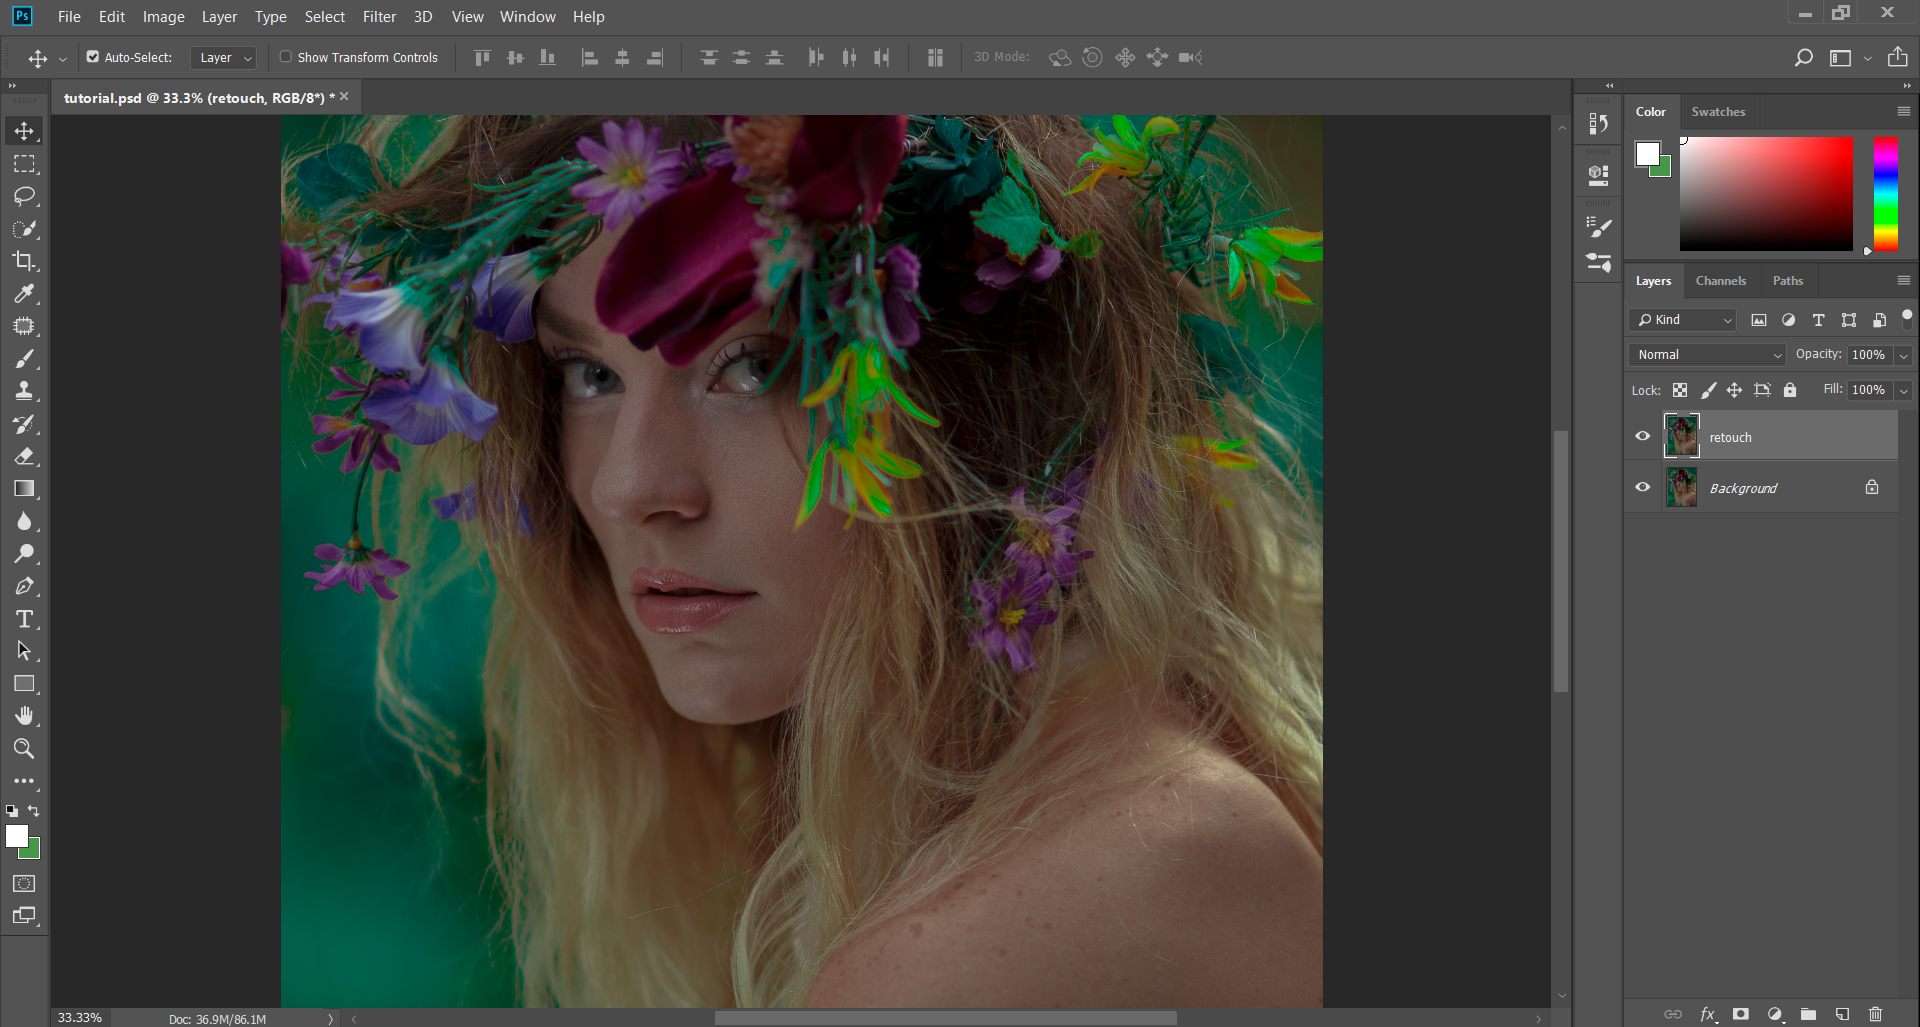 2. We'll be selecting the highlights using channels. View these by clicking over to "Channels" on the Layer Panel. Here you'll see black & white representations of the different colors throughout the image. Click on each channel individually to see which offers the greatest tonal range. Generally the Blue Channel works best when selecting skin tones (though of course this depends on an individual image).
 Create a copy of the Blue (or whichever you are using) channel by dragging it to the New Layer icon at the bottom of the Layer Panel.
 Now we are going to narrow the range of tones that we want to highlight. Hit Ctrl + L (Image>Adjustments>Levels) to control the contrast of the copied Blue Channel.The white pixels in the channel will make up your selection, so drag the sliders around until the areas you want to be highlighted visible in white. I usually prefer to pull the white slider & the midtone slider close together, but with enough distance to create some range. Only the very brightest parts of the image should be bright white (see the flowers and catchlights in the eye below), while the rest of the highlights are various shades of grey.
 Once you're finished, hit OK, then make your selection by holding Ctrl & clicking on the thumbnail of the channel. (Click RGB to view all channels once again, with your selection in tact).
 Return to viewing the Layers (click Layers on the panel), and create a new layer with the icon at the bottom of the panel.
 Now, we will fill the selection by hitting Shift + F5 (Edit>Fill). Ensure that the Content option is set to White.
 If you wish, you can mask off certain areas that have been highlighted too strongly by adding a layer mask (icon at the bottom of the Layer panel).
 I felt the highlights on the flowers & the edge of the hair were a little blown out, so I painted over them on the Layer Mask, (shown in red for effect).
 I wanted the effect to be even more surreal, so let's add ANOTHER highlight layer. Again, view your Channels and create yet another copy of the Blue channel.
 Again, edit the Levels of this copy, but we're going to go a little more extreme and narrow the highlight range so only the brightest highlights are visible. Hit OK and Ctrl + click the thumbnail to make the selection.
 Once more, return to viewing the Layers and create another New Layer. I named my two layers to stay organized, with the first highlight layer being called "broad" and this new one called "narrow." Fill the selection with white.
 From here you can change the visibility of your highlights by changing the Opacity of the Layer or by changing the Blending mode. I like Soft Light or Overlay in most cases; both of these blending modes brighten the underlying parts of the image instead of just showing white.
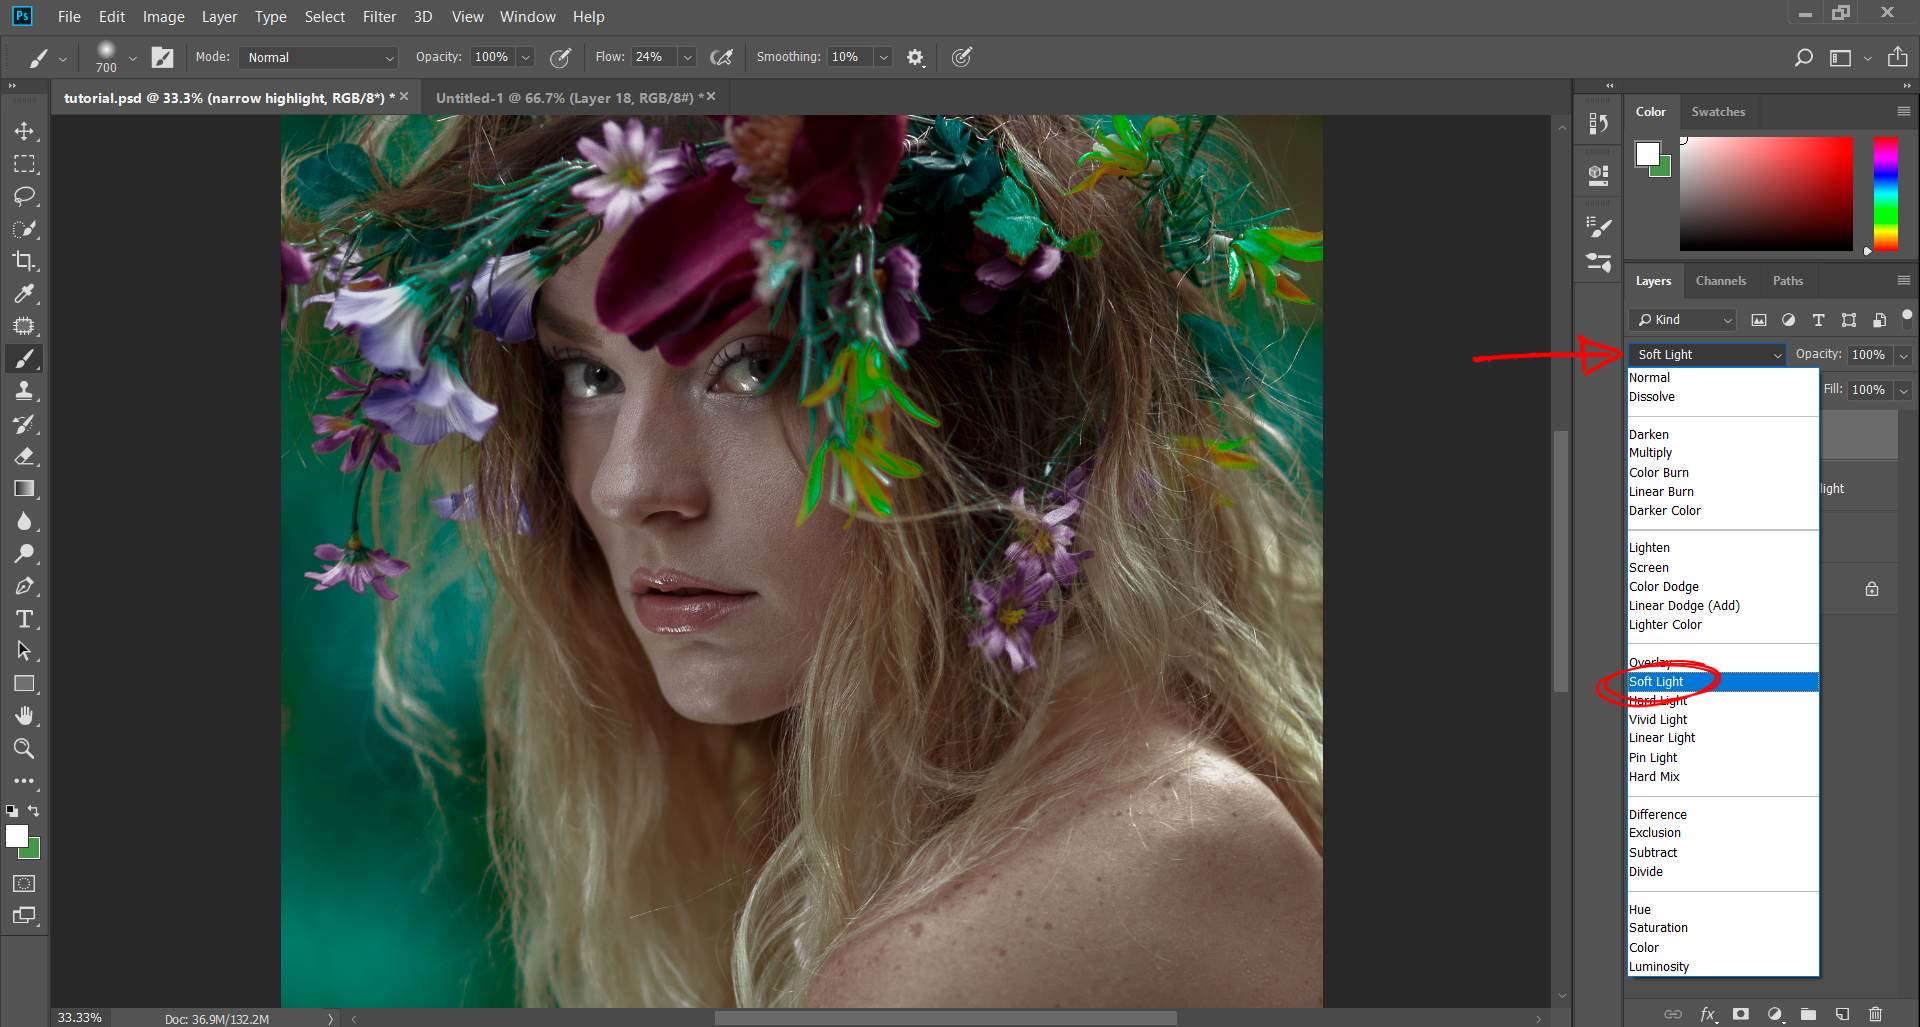
 I wanted to keep the highlights a little more focused on the Narrow layer as well, so I created a Layer mask (visible in red).
 And there you have it!
 Before & After:And Before & After with the final color grade (but that's a tutorial for another day):